
Whether you're renovating your home or building new, fiber cement siding installation has become one of the most popular choices for Atlanta homeowners. This versatile material offers the classic look of wood with exceptional weather resistance, making it an ideal choice for homeowners across Georgia.
Understanding Fiber Cement Siding Before Installation
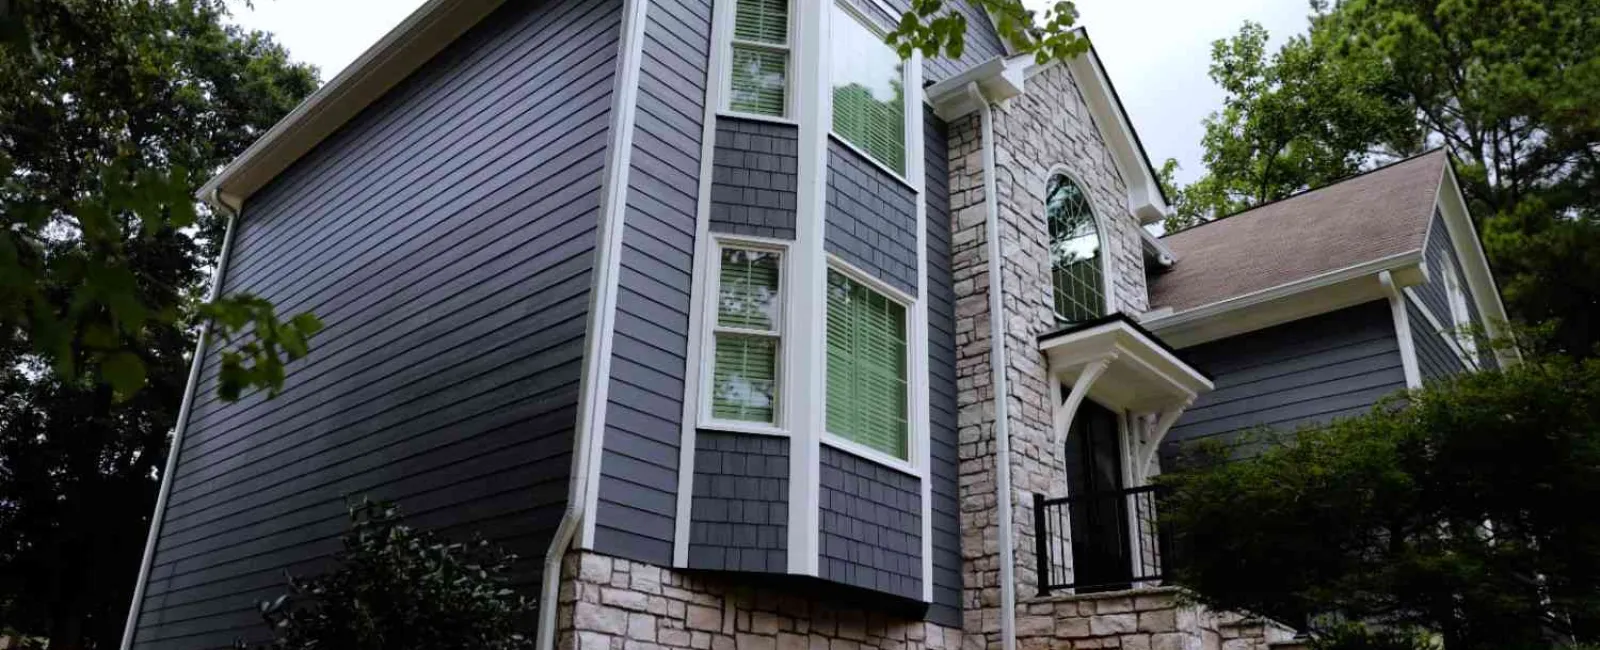
Fiber cement siding combines cement, sand, and cellulose fibers to create a remarkably durable exterior cladding material. Unlike traditional wood siding that can rot or vinyl that might crack in extreme temperatures, fiber cement stands strong against moisture, fire, and pests. James Hardie, the industry leader, revolutionized this product category.
The material typically comes in two main forms: lap siding (also called plank siding) and panel siding. Lap siding mimics traditional wood clapboard with its horizontal overlapping design, while panel siding offers a more contemporary look with vertical lines or smooth surfaces. Understanding which style suits your home's architecture will help guide your installation approach.
Essential Tools and Materials for Cement Siding Installation
Proper preparation makes all the difference when you're ready to begin installing fiber cement siding. You'll need specialized cutting tools since standard wood saws won't handle the dense material effectively. A circular saw with a fiber cement blade or specialized shears designed for this material will save time and reduce harmful dust. Don't forget safety equipment, including dust masks rated for silica, safety glasses, and work gloves.
Beyond cutting tools, gather your fastening materials carefully. Stainless steel or hot-dipped galvanized nails resist corrosion and maintain their holding power over decades. You'll also need a quality house wrap, flashing tape for windows and doors, starter strips, and corner trim pieces. Having everything ready before you start prevents frustrating delays mid-project.
Preparing Your Home for Fiber Cement Siding
Before any siding goes up, your home's exterior needs proper preparation. Start by removing old siding if necessary, checking for any structural damage or rot that needs repair. This inspection phase often reveals issues that, if left unaddressed, could compromise your new siding's performance.
Install a high-quality weather-resistant barrier over the sheathing, overlapping seams according to manufacturer specifications. This crucial layer protects your home from moisture infiltration. Pay special attention to window and door openings, using proper flashing techniques to direct water away from these vulnerable areas. Remember, even the best siding can't compensate for poor moisture management underneath.
The Installation Process: How to Install Fiber Cement Siding Panels
Starting at the bottom of your wall, install a level starter strip that will support your first course of siding. This foundation piece determines the alignment for your entire project, so take time to get it perfectly straight. Use a chalk line across the entire wall length to ensure consistency.
When cutting fiber cement boards, always work outdoors or in well-ventilated areas to minimize dust exposure. Score and snap methods work for straight cuts under 12 inches, but power tools handle longer cuts more efficiently. Leave appropriate gaps at butt joints (typically 1/8 inch) to allow for natural expansion and contraction with temperature changes.
Each plank should overlap the one below by at least 1.25 inches, though check your specific product's requirements since some manufacturers recommend different measurements. Drive nails through the top portion of each plank, staying at least 3/4 inch from the edges to prevent cracking. Never nail through the overlap area, as this restricts movement and can cause buckling.
Critical Installation Tips for Long-Lasting Results
Temperature also plays a role in successful fiber cement installation. Avoid installing during extreme cold (below 40°F) or excessive heat (above 90°F), as these conditions affect the material's workability and your comfort level. Morning installations often provide ideal working conditions before the afternoon heat sets in.
Maintain consistent spacing between siding and adjacent materials. Keep siding at least 6 inches above grade and 2 inches from roof surfaces. These clearances prevent moisture wicking and allow proper water drainage. Around windows and doors, leave a 1/8-inch gap, then seal with appropriate caulk that accommodates movement.
Color coordination matters more than you might expect during installation. If you're using pre-painted siding, organize planks from multiple boxes to ensure color consistency across your walls. Even slight variations become noticeable once installed, so mixing planks during installation creates a more uniform appearance.
Common Mistakes to Avoid During Installation
One frequent error involves incorrect fastener placement or using the wrong fastener types. Roofing nails might seem similar, but they lack the holding power needed for fiber cement's weight. Similarly, overdriving nails causes stress cracks that compromise the siding's integrity and void warranties.
Another mistake is rushing the cutting process. Fiber cement produces harmful silica dust when cut, making proper safety equipment non-negotiable. Some installers skip dust masks for quick cuts, but even brief exposure poses health risks. Always use appropriate dust control methods, whether that's specialized vacuum-equipped saws or wet cutting techniques.
Ignoring manufacturer guidelines represents perhaps the costliest mistake. Each brand has specific requirements for installation that, when not followed, can void warranties and lead to premature failure. These guidelines cover everything from fastener schedules to clearance requirements, all based on extensive testing.
Maintenance Considerations After Installation
Once your fiber cement siding installation is complete, minimal maintenance keeps it looking great for decades. Annual washing with a garden hose removes dirt and prevents mildew growth in shaded areas. Check caulk joints every few years, resealing as needed to maintain weather resistance.
Touch up paint scratches promptly to prevent moisture infiltration at damaged spots. Quality fiber cement holds paint exceptionally well, typically requiring repainting only every 15 to 20 years compared to wood's 5 to 7 year cycle. This longevity makes the initial installation investment worthwhile for most homeowners.
Making the Installation Decision
Installing fiber cement siding is a significant upgrade to your home's exterior, offering unmatched durability and curb appeal. The installation process requires specialized expertise, professional-grade equipment, and strict adherence to manufacturer specifications to maintain warranty coverage. Even small installation errors can lead to moisture problems, void warranties, and require costly repairs down the road.
Ready to transform your home's exterior with fiber cement siding? EXOVATIONS' certified siding experts have the training, tools, and experience to install your fiber cement siding correctly, ensuring maximum durability and maintaining your manufacturer's warranty. Our team handles every detail and delivers beautiful, long-lasting results. Contact EXOVATIONS today for a free consultation and discover why Atlanta homeowners trust us with their siding installation needs.


